
This article is part of the Windows 365 Frontline Shared series. If you haven’t read the first post yet, read Part 2: How to Use Device Preparation Policy for Cloud PC Deployments (Preview)
What are Windows 365 Cloud Apps? Windows 365 Cloud Apps make it possible to deliver secure, app‑only access from the cloud. Without provisioning a full Cloud PC for every user. Instead of assigning an entire virtual desktop. IT can publish individual applications (for example, SAP GUI delivered as a RemoteApp) directly from a Cloud PC.
These applications run on Windows 365 Frontline Cloud PCs operating in shared mode. This shared‑mode architecture requires Windows 365 Frontline licenses to use Cloud Apps.
This blog post explains how to customize Windows 365 Cloud Apps:
- adding custom icons
- integrating additional applications into the Start Menu for publishing as Cloud Apps.
For both customization scenarios, we recommend using a Device Preparation Policy to prepare your Windows 365 Frontline Cloud PCs in shared mode with your custom icons and applications.
Add Custom Icons to Your Cloud Apps
To add custom icons to your Windows 365 Cloud Apps, the icons must be available on your Windows 365 Frontline Cloud PCs running in shared mode. You must ensure the icons are included in your custom image or downloaded and stored on the Cloud PC through an Intune script.
In my example, I’m using a public GitHub repository, but I recommend using an Azure Storage Account with a blob container to make your icons reliably available for download.
You need to download and store the custom icon in a file location that is accessible and identical across all Cloud PCs.
Here’s a script example that downloads a custom Secure Browser icon to replace the default Microsoft Edge icon:
[PowerShell]
# Define the source URL and destination path
$url = "https://raw.githubusercontent.com/avdpunks/public/refs/heads/main/secure_browser_edge.ico"
$icoPath = "C:\Program Files (x86)\Microsoft\Edge\Application\secure_browser_edge.ico"
# Download the icon file
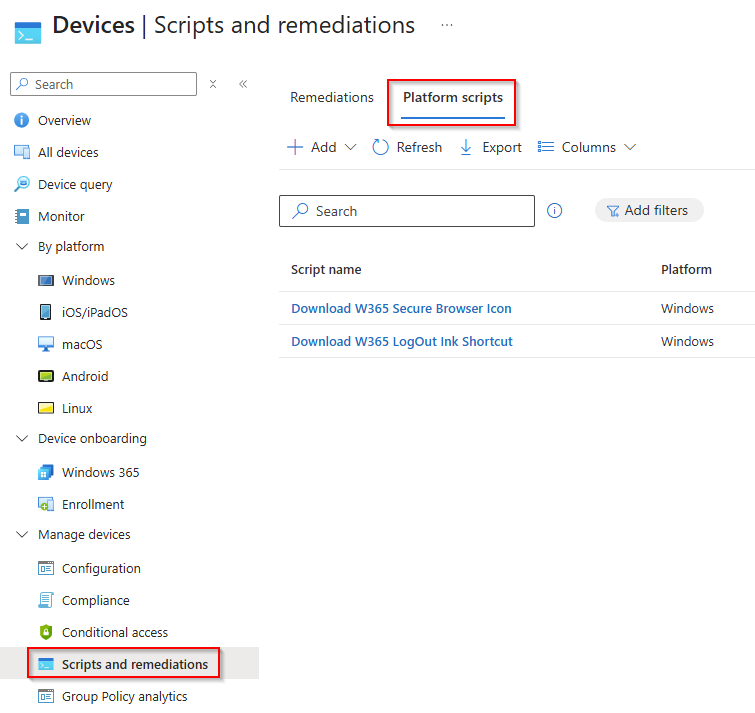
Invoke-WebRequest -Uri $url -OutFile $icoPath -UseBasicParsingUpload this PowerShell script to Intune under Devices → Scripts and Remediations so it can be integrated into your Device Preparation Policy. Make sure to assign the script to the Windows 365 Frontline Cloud PCs device group as well. This prepares all Cloud PCs so they’re fully ready for users to connect after reprovisioning.
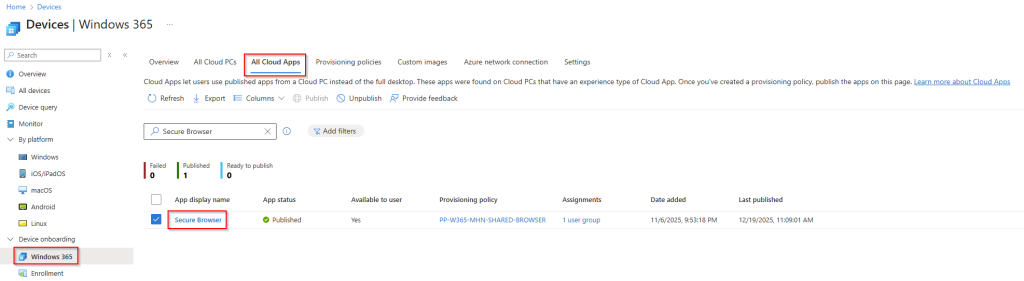
After the script runs successfully. You can publish or republish your Cloud App with the new custom icon directly in Intune. Open the Intune Windows 365 management blade, then select the Cloud Apps tab to view all available Cloud Apps. Select the Cloud App for which you want to change the icon.
Now update the Icon Path and Index fields. If you are using a single .ico file, the index should be set to 0.
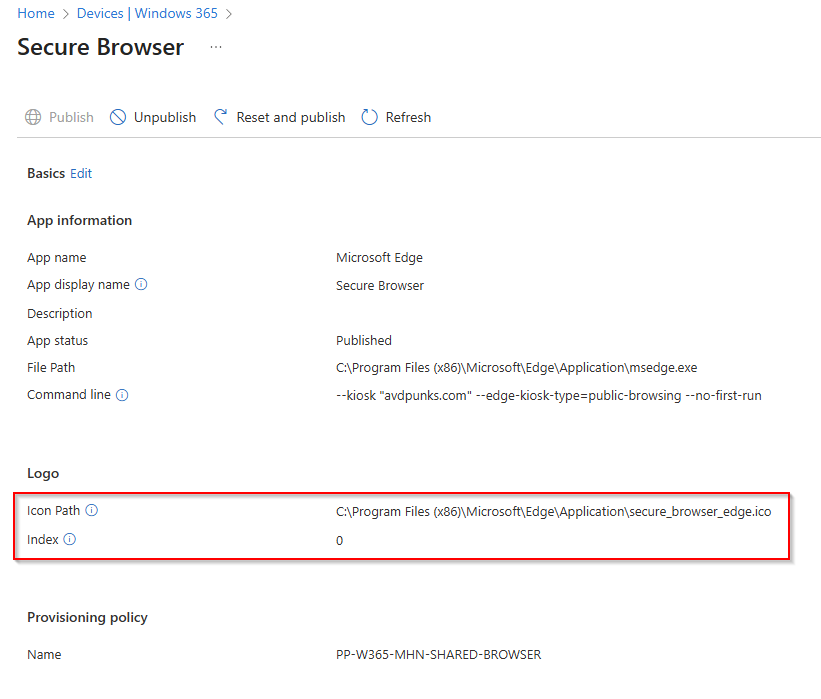
Note: Sometimes modifying the Cloud App alone isn’t enough to update the icon. In those cases, you may need to republish the entire Cloud App to apply the new icon settings.
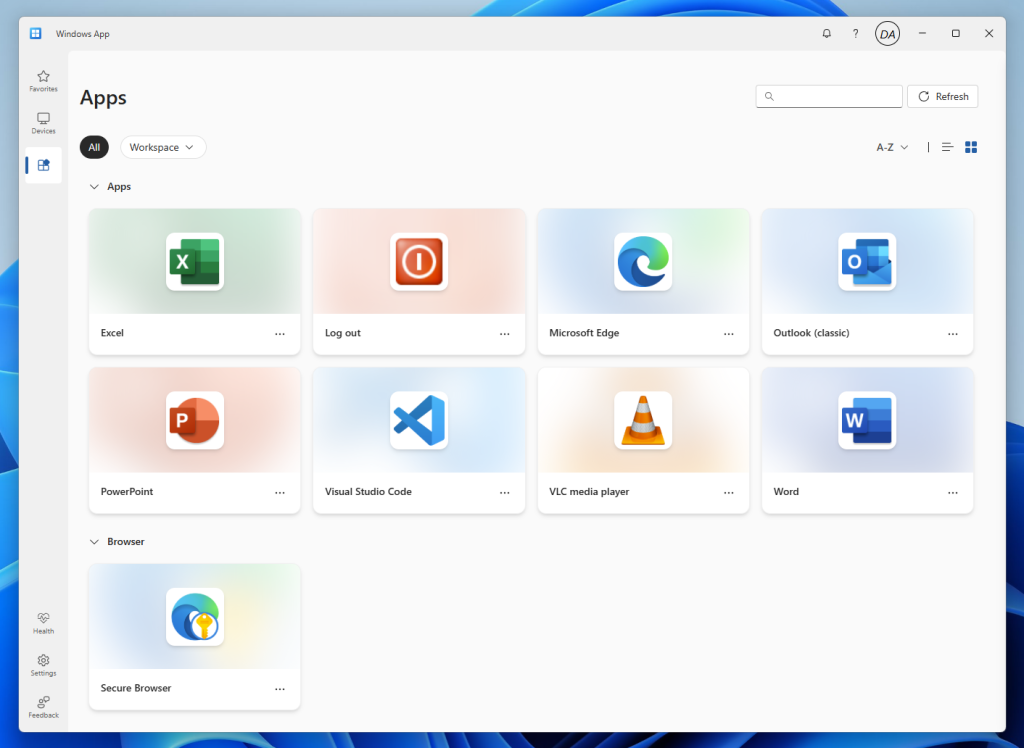
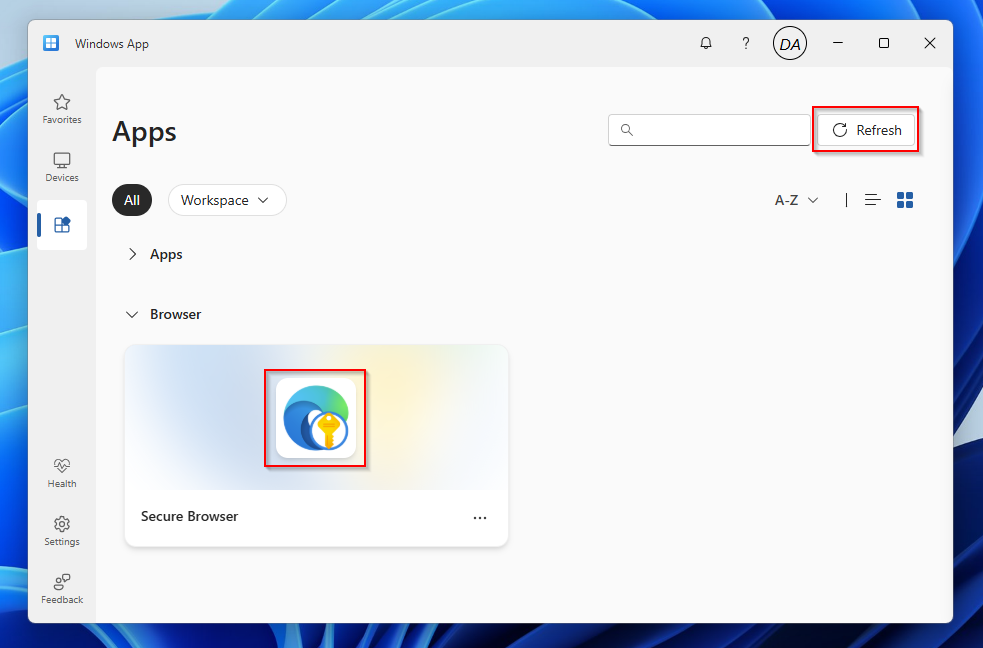
Now verify your changes by opening the Windows App web client or refreshing the Windows App feed.
Add Custom Start Menu Apps to Your Cloud Apps
To add custom Start Menu apps to your Windows 365 Cloud Apps, the App Links must be available on your Windows 365 Frontline Cloud PCs running in shared mode. Make sure the links are either built into your custom image or deployed to the Cloud PC via an Intune script.
In my example, I’m using a public GitHub repository, but I recommend using an Azure Storage Account with a blob container to make your App Links reliably available for download.
You need to download and store the App Links in the default Start Menu location (C:\ProgramData\Microsoft\Windows\Start Menu\Programs\). Each link must point to a valid executable application. Otherwise, the Windows 365 service will not load it as a Cloud App.
Here’s a script example that downloads my App Link, for example, a Log Off shortcut that triggers logoff.exe, into the default Start Menu location:
[PowerShell]
# Define the source URL and destination path
$url = "https://github.com/avdpunks/public/raw/refs/heads/main/Log%20out.lnk"
$lnkPath = "C:\ProgramData\Microsoft\Windows\Start Menu\Programs\Log out.lnk"

# Download the .lnk file into the Start Menu Programs folder
Invoke-WebRequest -Uri $url -OutFile $lnkPath -UseBasicParsing
Upload this PowerShell script to Intune under Devices → Scripts and Remediations so it can be integrated into your Device Preparation Policy. Make sure to assign the script to the Windows 365 Frontline Cloud PCs device group as well. This prepares all Cloud PCs so they’re fully ready for users to connect after reprovisioning.
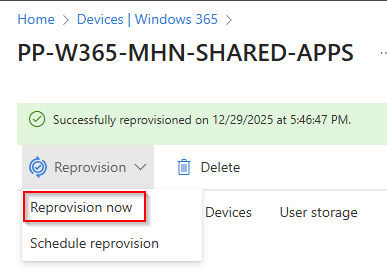
Now reprovision your Windows 365 Frontline Cloud PCs in shared mode so the service can load and publish the newly added Start Menu apps. You must enable the Provisioning Policy alongside your Device Preparation Policy.
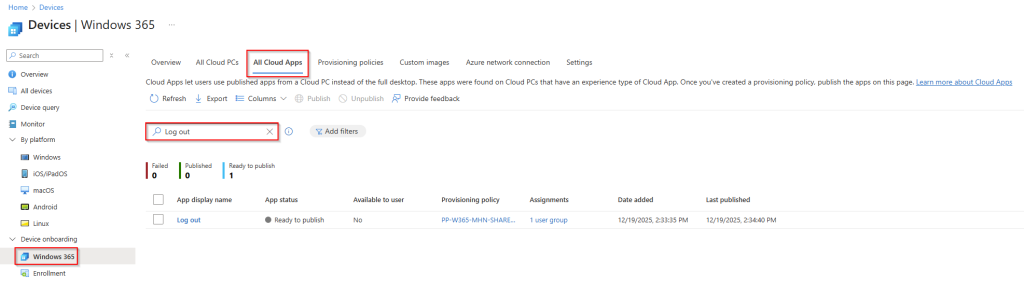
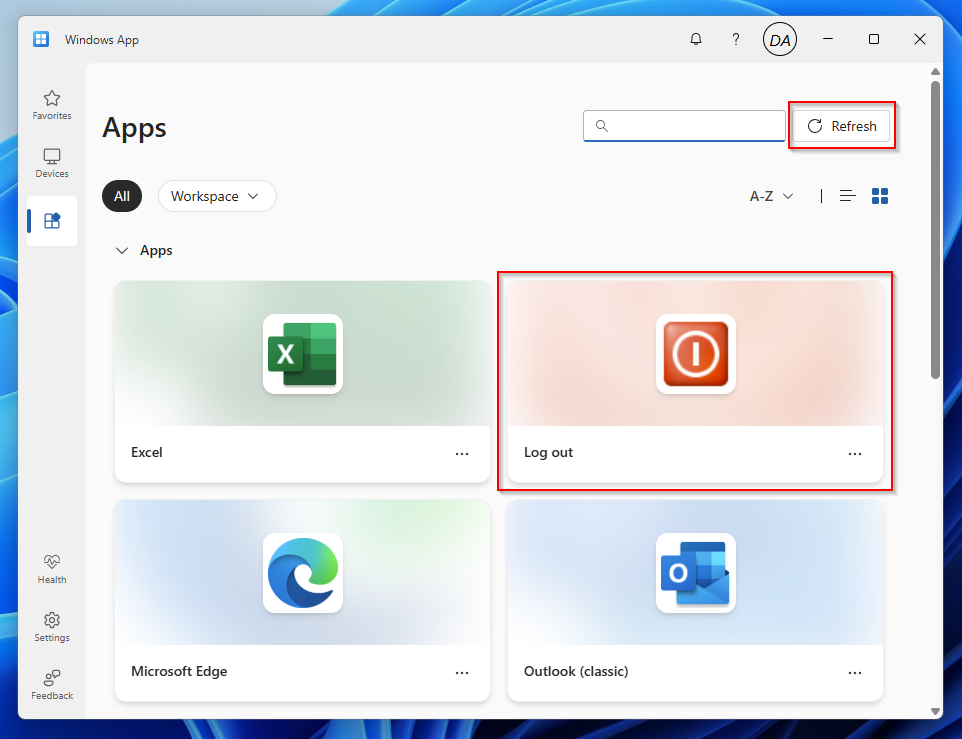
After the Reprovisioning runs successfully. Open the Intune Windows 365 management blade, then select the Cloud Apps tab to view all available Cloud Apps. Select the Cloud App for which you want to publish.
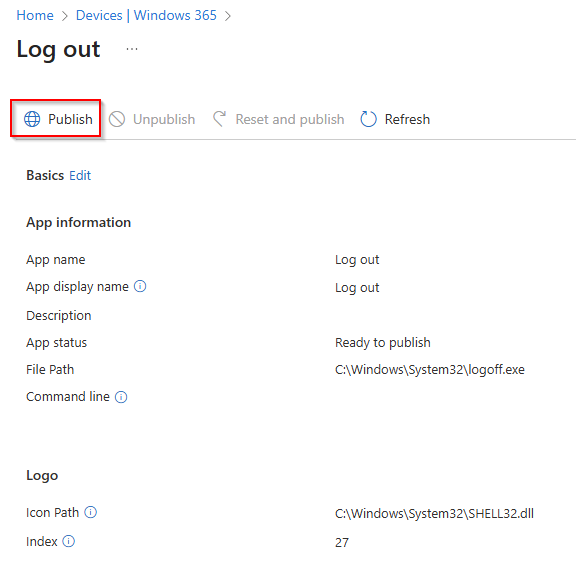
Windows 365 reads the App Link to identify the fixed file path and the adjustable icon path. Both pieces of information come from the App Link you create manually or via PowerShell beforehand.
Click Publish to make the app available as a Cloud App.
Now verify your changes by opening the Windows App web client or refreshing the Windows App feed.
Conclusion
Windows 365 Cloud Apps offer a flexible and efficient way to deliver individual applications without provisioning full Cloud PCs. By preparing Cloud PCs with Device Preparation Policies and using Intune to deploy custom icons and Start Menu apps, you can tailor the Cloud App experience to your organization’s needs. With just a few scripts and a reprovisioning cycle, your customized apps are ready for seamless publishing and use.