
Windows 365 Frontline in Shared Mode means users connect to a pool of Cloud PCs rather than a dedicated virtual machine. Each time they sign in, they may be connected to a different Cloud PC from the pool. Because of this non‑persistent, shared experience, it becomes even more important to hide the Single Sign-On consent prompt to streamline the login flow and avoid an extra confirmation before the Cloud PC session starts.
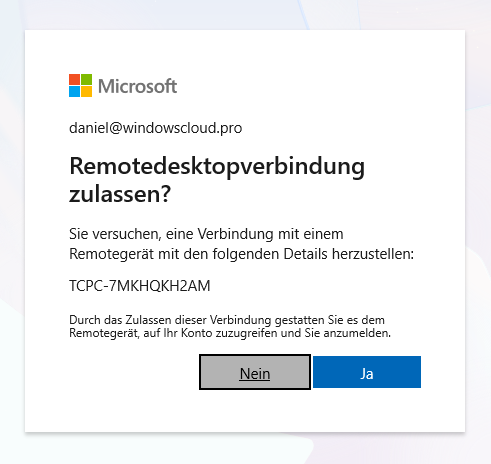
To hide the Single Sign‑On consent prompt, you need to configure specific Windows 365 and client‑side settings using PowerShell. This blog post walks you through the process.
Requirements
You must meet the following requirements to disable the Single Sign‑On consent prompt:
- Your Entra-ID user must be one of the following Entra ID roles or equivalent: Application Administrator or Cloud Application Administrator
- Install and import the Microsoft Graph PowerShell SDK modules: Microsoft.Graph.Authentication and Microsoft.Graph.Applications
[PowerShell]
# Install the required PS Modules
Install-Module Microsoft.Graph.Authentication
Install-Module Microsoft.Graph.Applications

# Import the required Modules
Import-Module Microsoft.Graph.Authentication
Import-Module Microsoft.Graph.Applications- Enable Microsoft Entra ID Single Sign‑On in your Windows 365 provisioning policy to use Entra ID credentials for the RDP Session Host login. Otherwise, your users will have to sign in twice.

Next, create an Entra ID Dynamic Device Group for all your Windows 365 Frontline and/or Enterprise Cloud PCs.
Create an Entra ID Dynamic Device Group
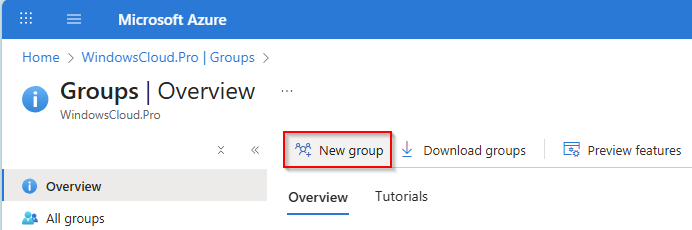
Go to entra.microsoft.com, open Groups, and click New group to create it.
Enter your preferred group name for all Windows 365 Cloud PC devices, and select Dynamic Device as the membership type.

Next, define the dynamic membership rule so that only Windows 365 Cloud PC devices with a device.displayName -startsWith "CPC-" expression are added to the group.
Here, you can review or modify the dynamic membership rule set:
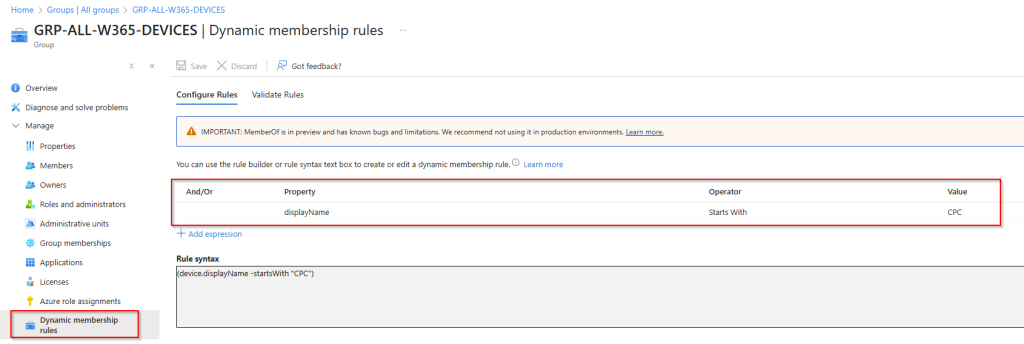
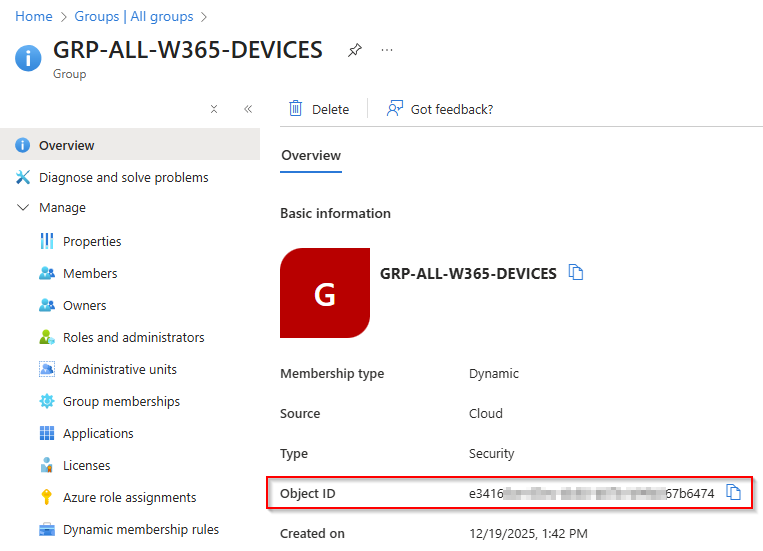
This group now includes all Cloud PCs that match the dynamic rule.
Copy the Device Group Object ID, as it will be required in the next steps.
Hide the Single Sign-On consent prompt via PowerShell
Open a PowerShell prompt or PowerShell ISE and run the following commands to enable Microsoft Entra authentication for RDP and specify the target group used to hide the SSO consent prompt.
Define and initialize the variables:
[PowerShell]
# Variables
$GroupDisplayName = "Your Entra ID Group Name"
$GroupId = "Your Entra ID Object ID"
$WindowsCloudLoginId = "270efc09-cd0d-444b-a71f-39af4910ec45"
Connect to Microsoft Graph using an account that has the required Entra ID role permissions:
[PowerShell]
Connect-MgGraph -Scopes "Application.Read.All","Application-RemoteDesktopConfig.ReadWrite.All"
Run the following commands to enable Microsoft Entra authentication for RDP:
[PowerShell]
$WCLspId = (Get-MgServicePrincipal -Filter "AppId eq '$WindowsCloudLoginId'").Id

If ((Get-MgServicePrincipalRemoteDesktopSecurityConfiguration -ServicePrincipalId $WCLspId) -ne $true) {
    Update-MgServicePrincipalRemoteDesktopSecurityConfiguration -ServicePrincipalId $WCLspId -IsRemoteDesktopProtocolEnabled
}
Next, run the following commands to configure the RDP SSO Target Device Group, allowing the SSO consent prompt to be suppressed for all Cloud PCs in this group:
[PowerShell]
$tdg = New-Object -TypeName Microsoft.Graph.PowerShell.Models.MicrosoftGraphTargetDeviceGroup
$tdg.Id = $GroupId
$tdg.DisplayName = $GroupDisplayName

New-MgServicePrincipalRemoteDesktopSecurityConfigurationTargetDeviceGroup -ServicePrincipalId $WCLspId -BodyParameter $tdg
To verify whether the target group has been configured successfully:
[PowerShell]
Get-MgServicePrincipalRemoteDesktopSecurityConfigurationTargetDeviceGroup -ServicePrincipalId $WCLspId 
The configuration is now complete, and all new Windows 365 Cloud PC sessions will establish a direct connection without additional prompts.
Conclusion
By combining Microsoft Entra ID Single Sign‑On with a targeted dynamic device group and the appropriate Microsoft Graph PowerShell configuration, you can fully suppress the SSO consent prompt for Windows 365 Cloud PCs, including Windows 365 Frontline devices operating in Shared Mode.
This streamlined setup ensures that users connect faster and more seamlessly, without unnecessary authentication interruptions. Once configured, all new Cloud PC sessions will establish a direct connection, delivering a smoother, more consistent sign‑in experience across your Windows 365 environment.
Next up: How to Use Device Preparation Policy for Cloud PC Deployments (Preview). Continue reading the series here.