
What’s the most annoying part of an automation? When a time-limited token has expired and you start troubleshooting what’s going wrong? I also used the blob script links with a Shared Access Signatures (SAS) to access my files in my AVD Custom Image Templates configuration. But from now on I bring the blob script links at a higher level, without SAS token, instead the managed identity gets enough permission to the blob container to download the files.
Below I describe how to use a managed identity to download files from a blob container in a custom AVD image template configuration.
Prerequisites
This blog article does not describe how to enable AVD custom image templates or the Azure Image Builder.
First requirement is that you have followed the Microsoft documentation on how to use custom image templates to create custom images in Azure Virtual Desktop.
Second, you need to create an Azure storage account with a blob container to which you can upload your custom script file. If you have not already done so, you can follow the link here.
You must ensure that public network access is enabled in the network settings of the storage account, otherwise the creation of the custom image template will fail.
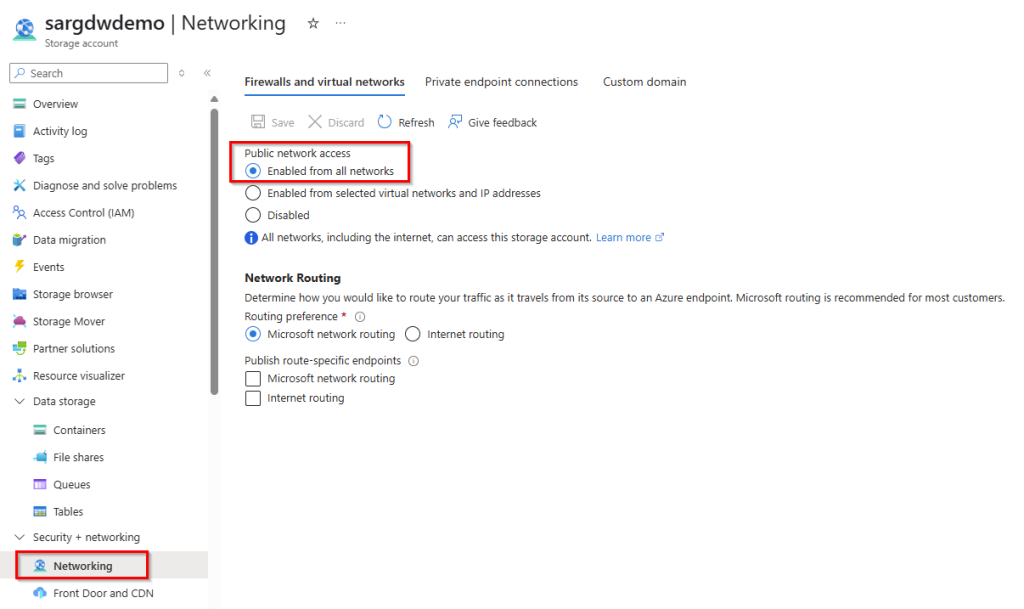
Note: There is no way to enable network access from selected virtual networks or via private endpoint connections, as the image creation service will not be able to connect the storage account.
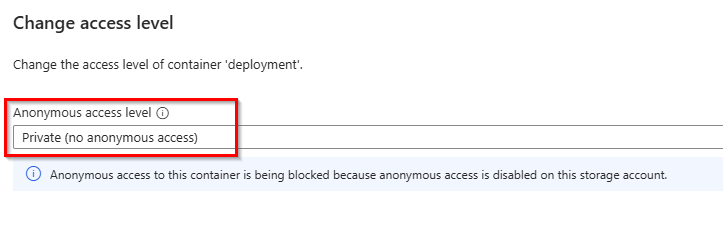
The access level of the blob container can be set to private (no anonymous access), which means that the files are not publicly accessible anonymously.
Short list of what you need:
– Managed Identity
– Storage Account with a blob container and custom script file
– AVD Custom Image template you want to optimize
Assign blob reader permission to the managed identity
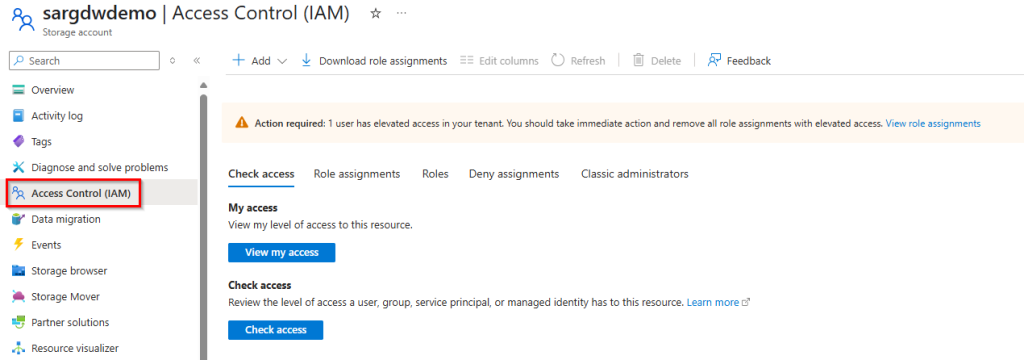
1. Open your Azure Storage Account for your custom scripts and select “Access Control (IAM)”.
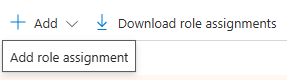
2. Click “+Add role assignment” to start the role assignment process.
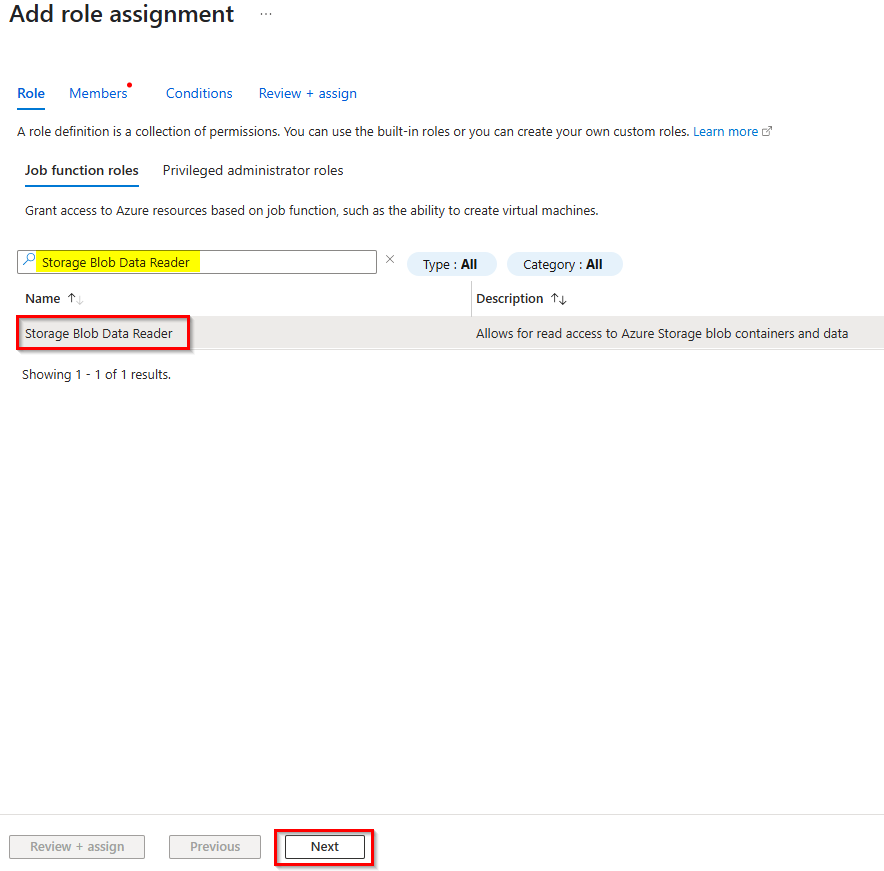
3. Search for “Storage Blob Data Reader” and select the appropriate authorization role, then click “Next”.
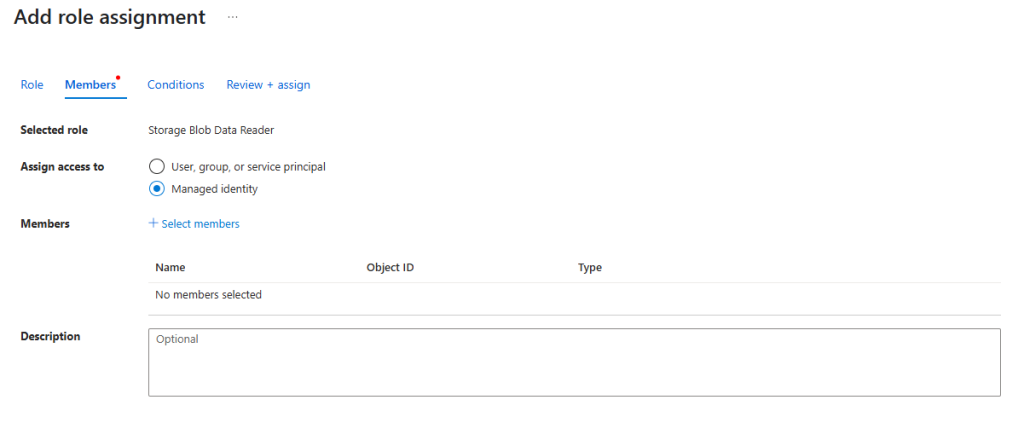
4. In the members tab select “Managed identity” and click on “+ Select members“.
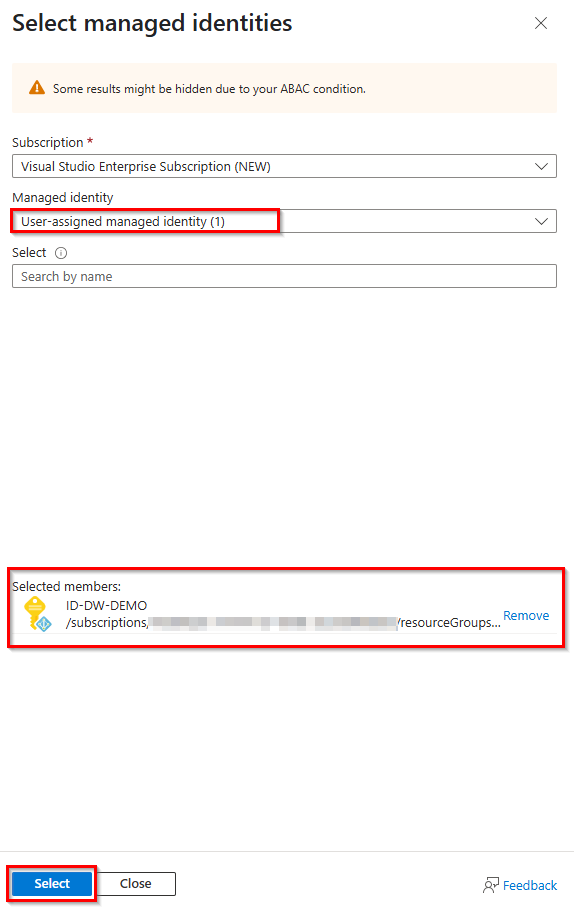
5. Select your subscription and “User Assigned Managed Identity”, then you can search for your managed identity or select it from the list and then click “Select” & “Next“.
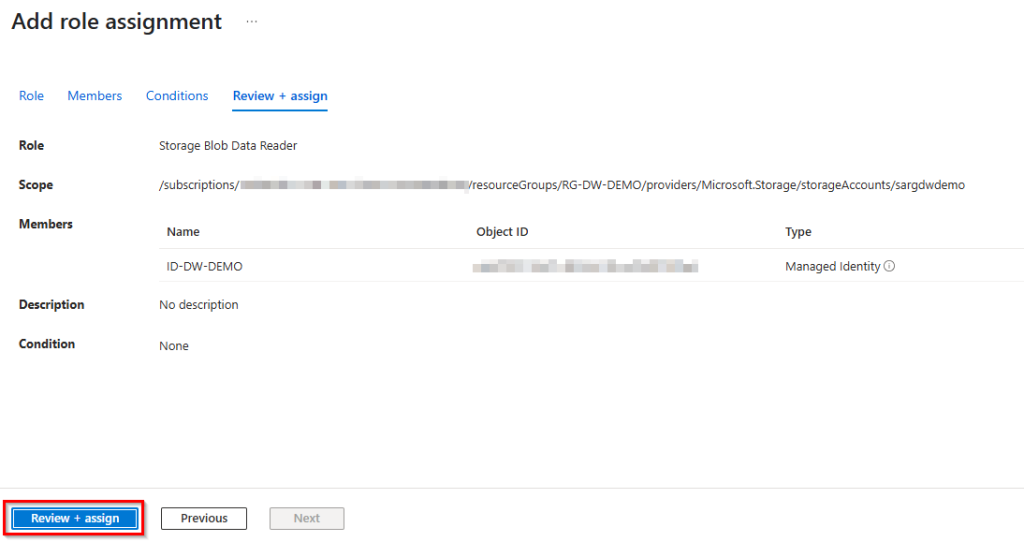
6. The condition tab can be skipped to the Review + assign tab and then click “Review + assign” to assign the permission role to your managed identity.
Use blob script file without SAS token in a custom image template
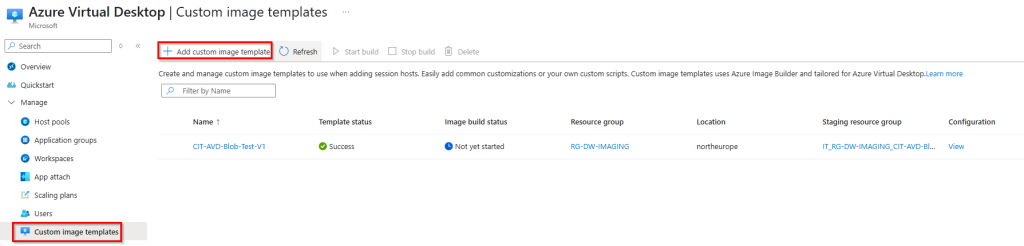
1. Open the Custom image template blade and click “+ Add custom image template”.
Note: There is no way to change an existing custom image template, so we need to create a new template and import an existing template.
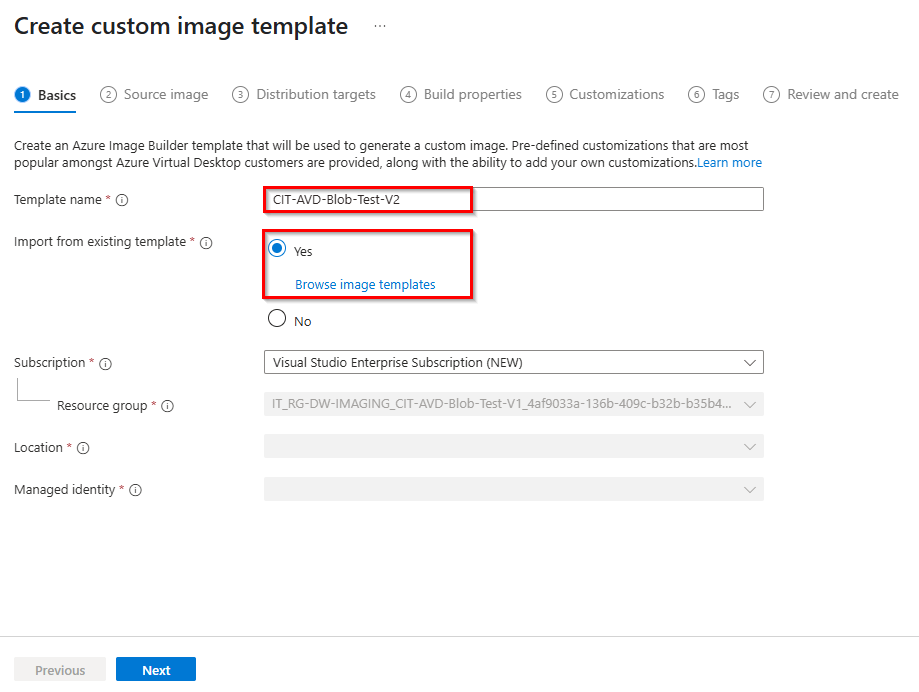
2. Enter a new template name and select “Yes” to import from an existing template, then “Browser image templates“.
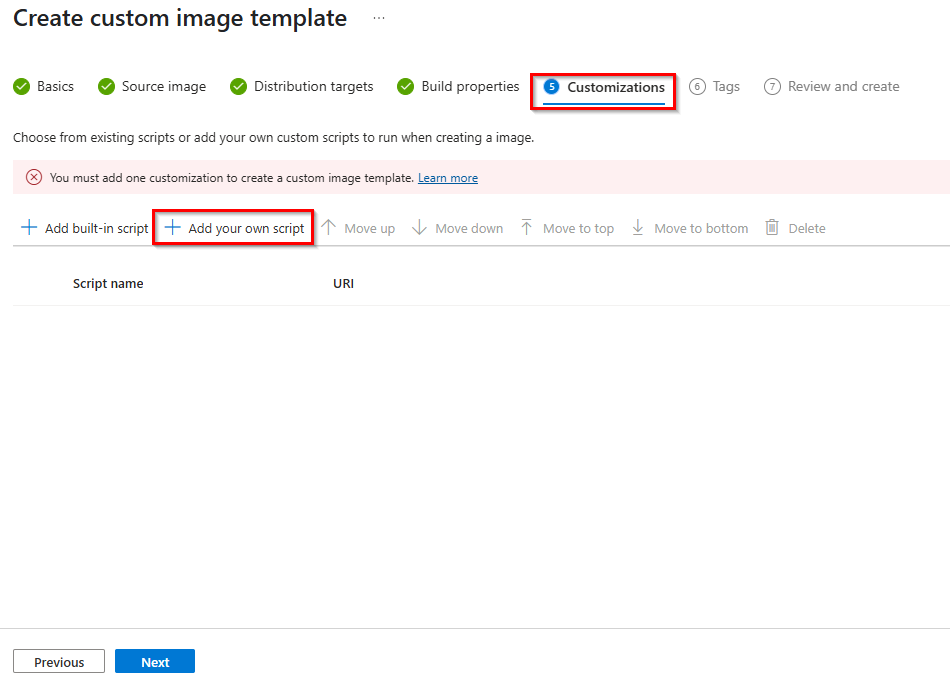
3. If you have successfully selected an existing template, you can proceed to step 5. Customization and click on “+ Add custom script“.
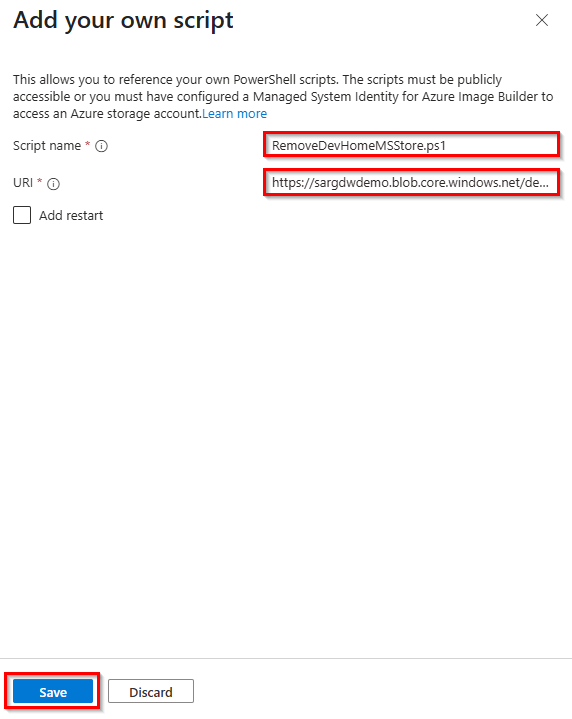
6. Add the script name (1:1 the script name) and the URI without SAS token from your custom script, then click “Save“.
7. On the Tags tab, click on “Next” and then on “Create”. It takes a few minutes to create the custom image template.
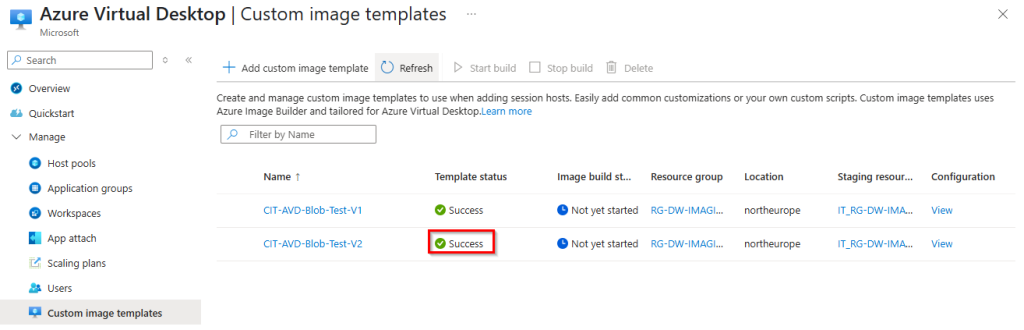
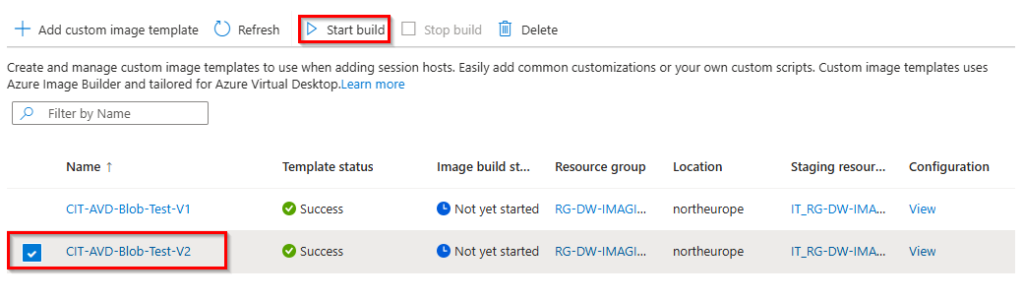
8. In the last step, select your newly created custom image template and click on “Start build” to start the build process.
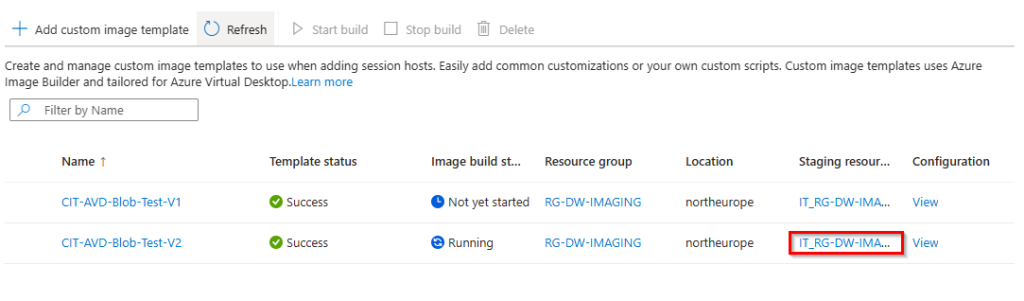
To check the live logs during the build process
1. Open your staging resource group from the list.
2. Search for a temporary container instance and open this instance.
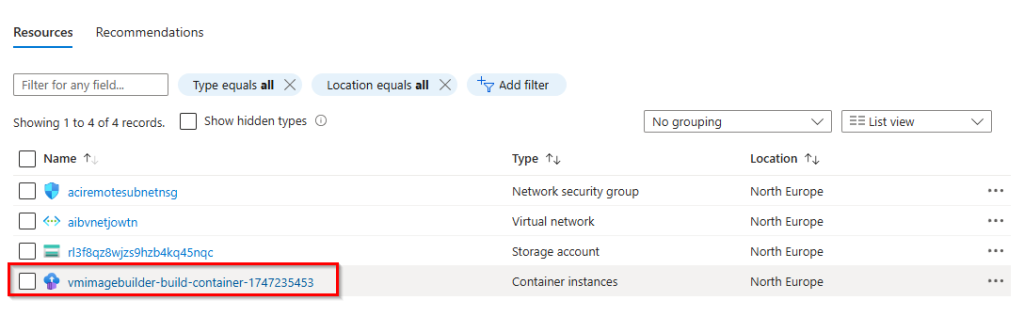
3. Click on “Container” under “Settings” and then open “Logs” to view the live logs during the build process.
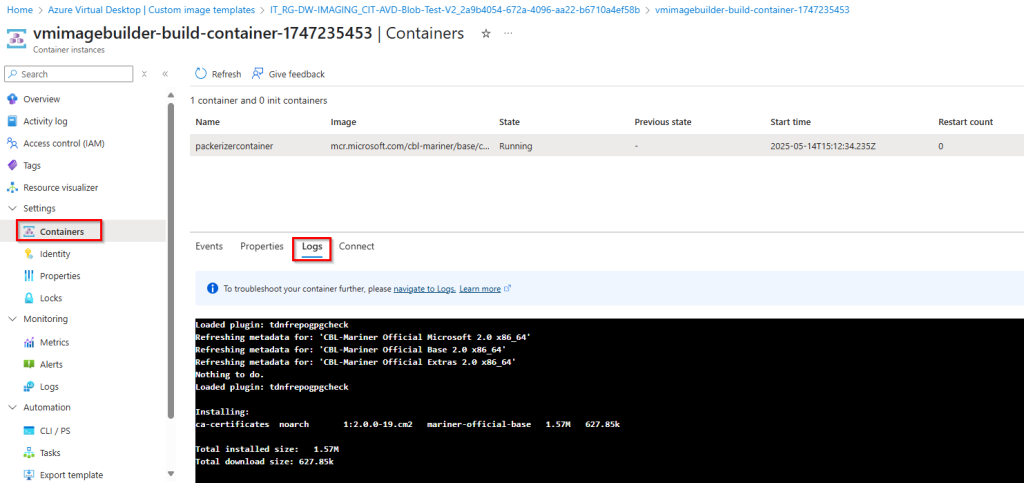
Note: If the build process has been completed successfully or has failed, the log file is saved in the temporary storage account in the staging resource group.
Conclusion
By replacing time-limited SAS tokens with a managed identity and proper RBAC permissions, you not only simplify your AVD image customization process but also significantly improve its security and maintainability.
This approach eliminates the hassle of token expiration and manual updates, allowing your automation to run more reliably and securely. With just a few configuration steps, you can enable your custom image templates to access blob-stored scripts seamlessly—no SAS, no stress.